
If you skip soil prep this fall, you will pay for it in spring. Most gardeners put all of their energy into what grows above the ground, but the real work of a great garden happens below it, and the weeks before winter are the best window you will get to set that up.
Here is what happens when you skip it. Diseases and pests that showed up this season do not simply disappear when the weather turns cold. They overwinter in leftover plant debris and come right back the moment things warm up. Bare soil erodes, compacts, and loses nutrients to winter rain and snow. Weeds move in before you have planted a single seed. And if your soil pH is off, your plants cannot absorb nutrients properly, even when you fertilize heavily, which means you spend money on products that never get used.
The good news is that five simple jobs this fall fix almost all of it, and most of them cost very little. Do them in order, and you will walk into spring with healthy, ready-to-plant soil.
Quick Reference Table
| Step | Job | Best Timing | Cost |
|---|---|---|---|
| 1 | Clear spent crops and diseased plants | As soon as crops finish | Free |
| 2 | Fill and feed beds (logs, wood, compost) | Fall, before the ground freezes | Low |
| 3 | Mulch the soil | After cleanup, before hard freezes | Free to low |
| 4 | Test soil and fix pH | Early fall, so amendments have months to work | Low |
| 5 | Sow a cover crop | A few weeks before your first hard freeze | Low |
1. Clear Out Spent Crops and Diseased Plants
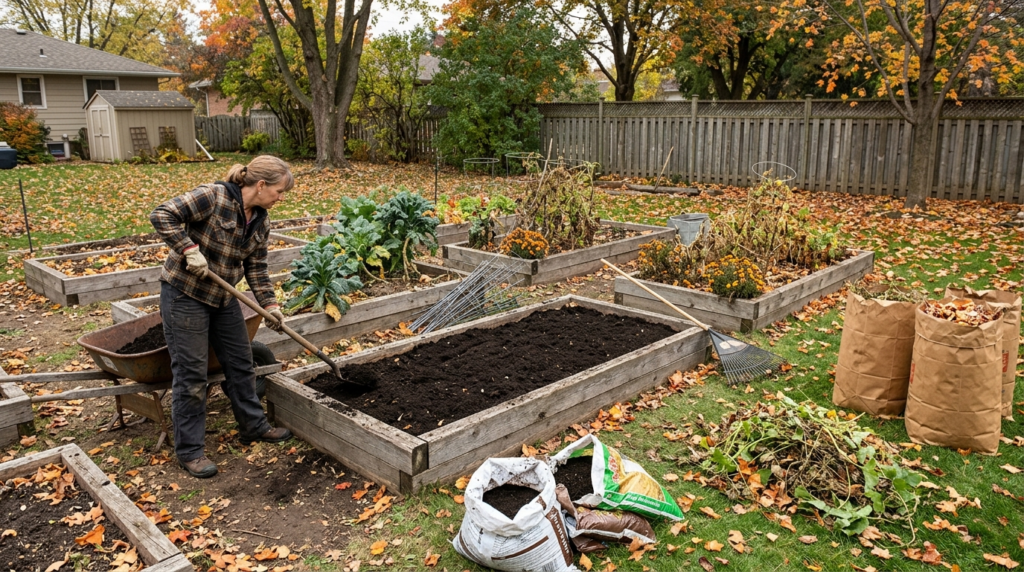
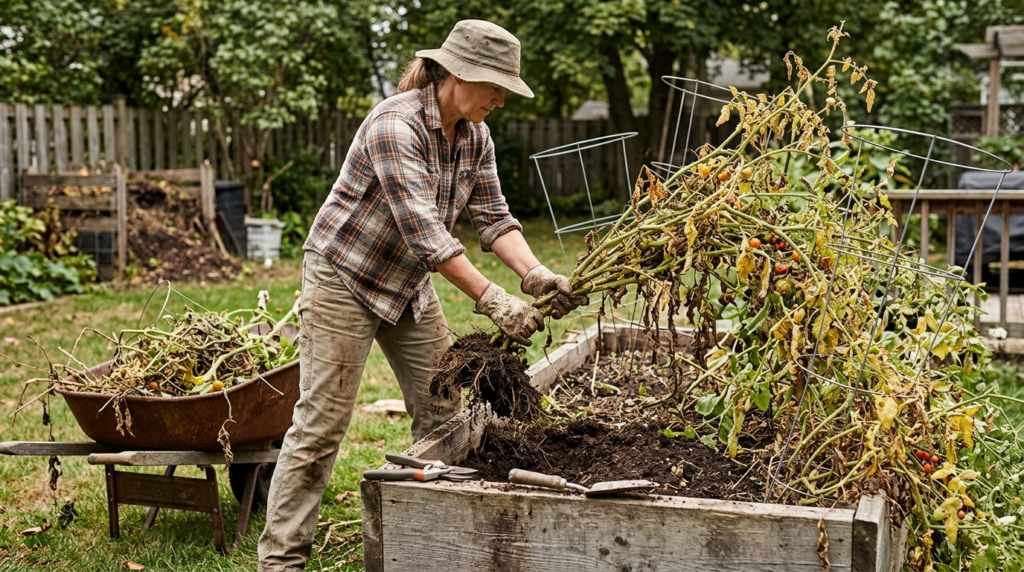
Pull out anything that is finished for the season, along with fallen fruit and any plant that showed signs of disease or pest damage. This step matters more than most people realize, because leftover debris is exactly where pests lay their eggs and where fungal spores wait out the winter.
Healthy plant material can go straight into your compost pile. Anything with blight, powdery mildew, or other diseases should go in the trash instead, because those pathogens can survive in a compost pile that does not get hot enough and spread right back into your garden next year. Old tomato vines are the classic example, so do not leave them sitting in the bed all winter.
While you are clearing, pull out the weeds too, especially any that have gone to seed. Leave the roots of healthy crops like beans and peas in the ground, since they feed the soil as they break down.
Pro tip: This is also a good moment to clean your tools. Wipe the blades of your shovels and pruners with rubbing alcohol so you do not carry disease from one bed to the next.
2. Fill and Feed Your Beds the Smart Way
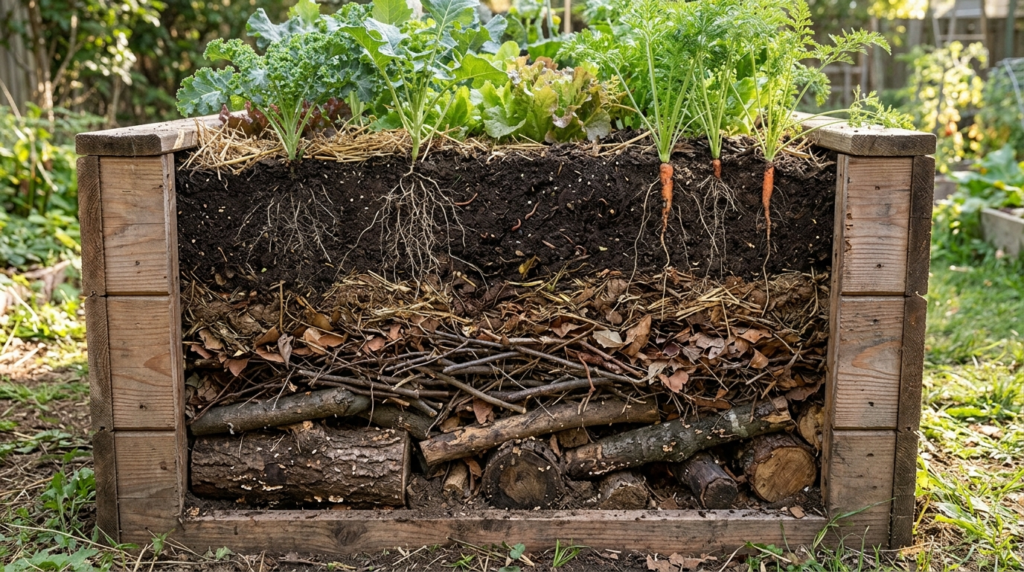
This is where you can save real money. If you have a deep raised bed, filling the entire thing with bagged soil gets expensive very fast. Instead, use the layering method:
- Bottom layer: Put logs, branches, and other woody material in the bottom third to half of the bed, with the biggest pieces at the very bottom and smaller sticks on top of them.
- Middle layer: Add leaves or grass clippings to fill the gaps between the wood.
- Top layer: Finish with soil and compost.
- Water it in: Water thoroughly so everything settles.
You need far less soil to fill the bed, and as the wood slowly breaks down, it acts like a sponge, holding moisture and releasing nutrients back into the soil over the years. That also means less watering in summer.
After the bed is filled, spread two to three inches of finished compost over the top and let winter rain, snow, and soil life work it in for you. By spring, the compost will have blended into the soil.
The Honest Warnings
This method only works when it is done right:
- Fresh wood pulls nitrogen out of the soil as it breaks down, so keep it in the bottom layer, well away from where the roots grow.
- Your bed will settle as the wood rots, so plan to top it up with more soil each year.
- Never use black walnut, cedar, or treated lumber, since they can release compounds that harm your plants.
- Use beds at least 18 to 24 inches deep. A shallow bed does not have room for this method, so stick with soil and compost only.
Pro tip: If you do not make your own compost, you can often buy it by the truckload from a local landscape supplier, which is usually much cheaper than small bags. Look for compost that is dark, crumbly, and smells like fresh earth, not sour or chemical.
3. Mulch the Soil So It Never Sits Bare
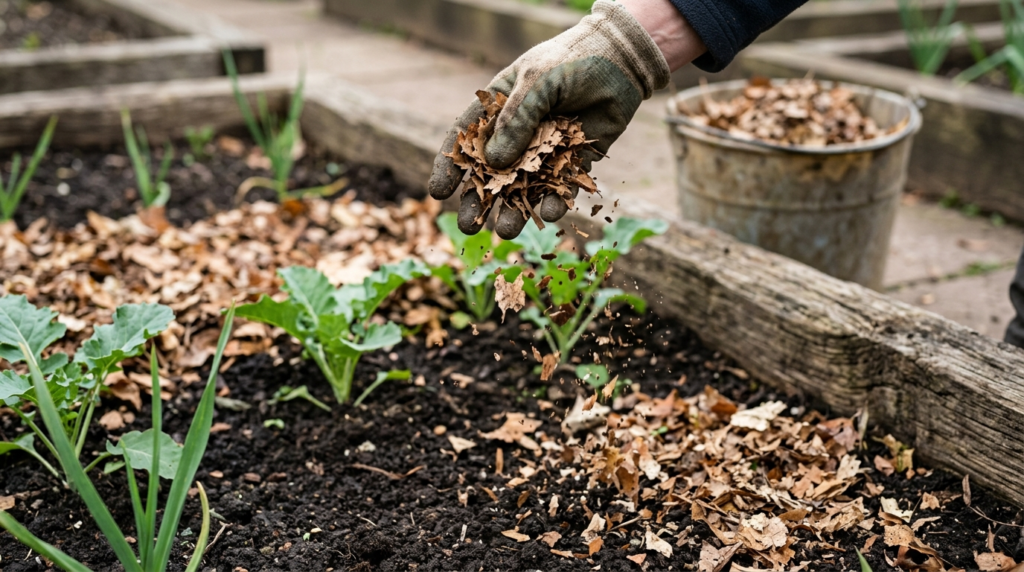
In nature, soil is almost never left uncovered, and your garden should not be either. Cover your beds with shredded leaves, straw, or wood chips, and aim for a layer of about three to four inches.
Mulch does a lot of work over winter:
- Protects the soil from erosion
- Suppresses winter weeds
- Keeps soil life active longer into the cold months
- Softens the effects of repeated freezing and thawing, which can heave plants and damage roots
- Keeps heavy rain from pounding the surface into a hard crust, so water soaks in instead of running off
Fallen leaves are free this time of year, so this one costs you nothing but a little time. Rake them up, run a mower over them if you want them shredded (whole leaves can mat together and block water), and spread them across your beds.
If you already have cold-hardy crops growing, like spinach or kale, just mulch around them and leave the plants uncovered. In spring, pull the mulch back a little to let the soil warm up before planting.
4. Test Your Soil and Fix the pH
Fall is the best time to test, because the amendments that correct pH work slowly and need months to break down in the soil. If you add them now, your soil is balanced and ready by spring planting.
How to take a good sample:
- Take small scoops from four to five different spots in your bed, about four to six inches deep.
- Mix them together in a clean bucket.
- Test that mixed sample.
A basic home test kit works fine for pH, or you can send a sample to your local extension office for a more detailed result that also shows nutrient levels like phosphorus and potassium. Most vegetables grow best in a slightly acidic to neutral range, roughly between 6 and 7.
Here is the important part: wait for your test results before adding anything. Lime raises pH and sulfur lowers it, and adding either one blindly can make your soil worse instead of better. Test first, then fix only what the results tell you to fix, and retest next fall to see how it changed.
Pro tip: Keep a simple note of your results each year. Over time, that record tells you exactly what your soil needs.
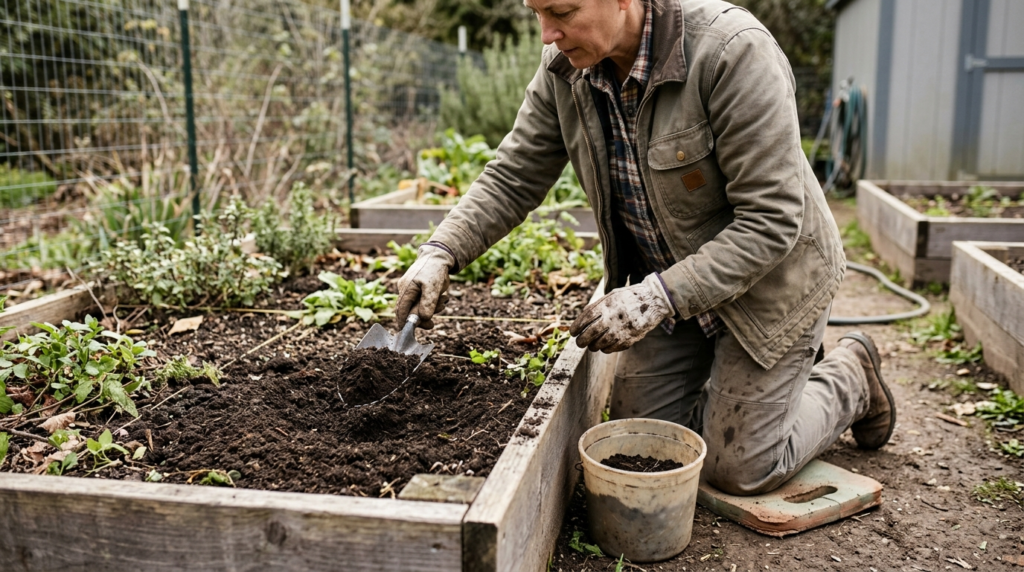
5. Sow a Cover Crop
Winter rye, crimson clover, and hairy vetch are the easiest options for beginners. Rye builds organic matter, holds soil in place, and suppresses weeds. Clover and vetch are legumes, which means they pull nitrogen from the air and add it to your soil.
How to sow them:
- Loosen the top inch of soil with a rake.
- Scatter the seed evenly across the bed.
- Rake it in lightly.
- Water it so it settles.
In spring, cut the cover crop down or turn it under a few weeks before planting, and it will feed the soil as it breaks down.
Timing matters here. Rye is very forgiving and can be sown a few weeks before your first hard freeze, but clover and vetch like a little more time to establish, so sow them as early as you can this fall and check your local frost date. If you do not want to deal with seeds at all, the mulch from step 3 is the minimum that will still protect your soil.
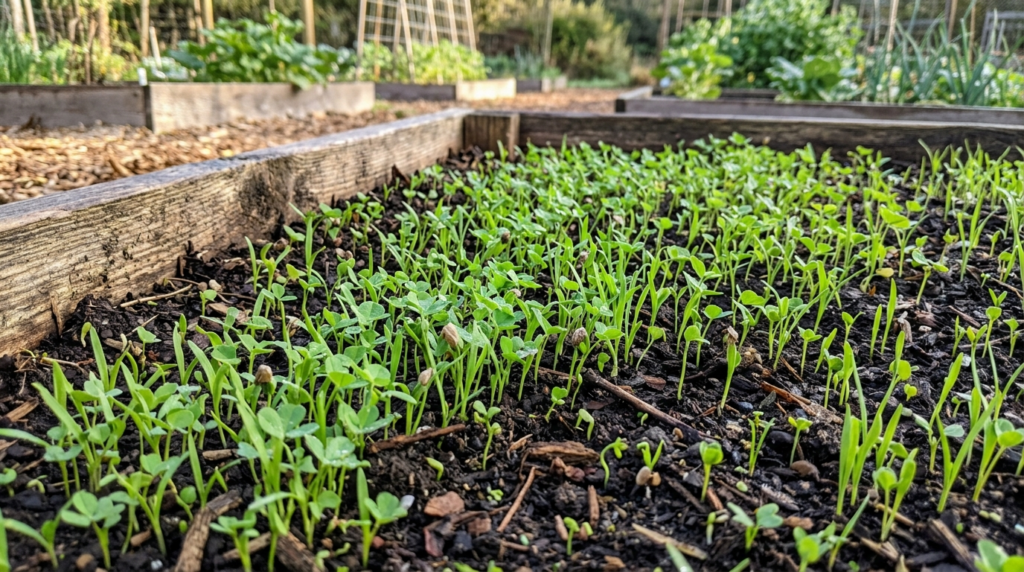
Comparing the Three Cover Crops
| Cover Crop | Main Benefit | Adds Nitrogen | Best For |
|---|---|---|---|
| Winter Rye | Builds organic matter, suppresses weeds | No | Beginners, late sowing |
| Crimson Clover | Fixes nitrogen, attracts pollinators | Yes | Early fall sowing |
| Hairy Vetch | Fixes nitrogen, heavy biomass | Yes | Early fall sowing, often mixed with rye |
Two Fall Mistakes to Avoid
Over-tilling. Heavy tilling breaks apart your soil structure, destroys the fungal networks that help plants take up nutrients, and exposes soil life to winter weather. A light touch, or no tilling at all, is better.
Heavy nitrogen fertilizer in fall. Much of it will wash away over winter before your plants ever get a chance to use it, which wastes money and can end up polluting nearby water. Compost and cover crops are a much better way to feed your soil this time of year.
What If You Only Have One Weekend?
Start with the cleanup and the testing as soon as your crops finish, since the test results take time and the pH amendments need that long runway. Then do the bed filling, compost, and mulch. Save the cover crop sowing for the window right before your first hard freeze if you are using rye.
If you only have one free weekend, focus on clearing the debris, adding compost, and mulching. Those three give you the biggest return for the least effort. Even a half-finished job this fall beats leaving the soil bare and untouched all winter.
Fall Soil Prep Checklist
- [ ] Remove spent crops, fallen fruit, and weeds that have gone to seed
- [ ] Put diseased plants in the trash, not the compost pile
- [ ] Clean shovels and pruners with rubbing alcohol
- [ ] Fill deep beds with logs and branches at the bottom, then leaves, soil, and compost on top
- [ ] Avoid black walnut, cedar, and treated lumber
- [ ] Spread two to three inches of finished compost over beds
- [ ] Mulch with three to four inches of shredded leaves, straw, or wood chips
- [ ] Take a mixed soil sample from four to five spots and test the pH
- [ ] Add lime or sulfur only after the test results tell you to
- [ ] Sow a cover crop before your first hard freeze, or mulch heavily instead
- [ ] Skip heavy tilling and heavy nitrogen fertilizer
- [ ] Record your test results for next year
Frequently Asked Questions
Is fall really the best time to prep garden soil? Yes. Soil amendments like lime and sulfur work slowly, compost needs time to blend in, and cover crops need to establish before the ground freezes. Doing these jobs in fall means your soil is ready when spring planting begins.
Can I use any logs and branches in the bottom of a raised bed? Most untreated hardwood and softwood works, but avoid black walnut, cedar, and any treated lumber, since they can release compounds that harm your plants. Keep the wood in the bottom layer, away from the roots.
How deep does a raised bed need to be for the logs method? At least 18 to 24 inches deep. In shallower beds there is not enough room for the wood layer and enough soil on top for roots, so fill shallow beds with soil and compost only.
How often should I test my soil? Once a year in fall is plenty for most home gardens. Keep a record of each result so you can see how your amendments change the pH over time.
What if I do not want to grow a cover crop? Mulch is the minimum. A three to four inch layer of shredded leaves, straw, or wood chips protects the soil from erosion, weeds, and freeze-thaw damage over winter.
Can I add fresh manure in fall? Well-aged manure is fine, and fall is a good time to add it so it breaks down over winter. Avoid fresh manure, which can burn plants and introduce pathogens if it goes on right before planting.
Related Articles
If you are building out your fall and winter growing plans, you might also want to check out:
- 5 Fast Winter Vegetables for Beds and Containers
- 10 Container Vegetables to Plant This October
- 5 Fast-Growing Fall Vegetables (Ready in 30-45 Days)
Want More Practical Growing Guides?
For more step-by-step growing guides, seasonal planting tips, and in-depth articles built for real gardeners, not just theory, visit SmartFarmInsights.com. New content is added regularly to help you get more out of every planting season, from fall soil prep to spring harvest.